46538 Charge Diode Removal
This covers the following Champion Power Equipment models: 46538 (3000/35000W Remote Start Generator). Read instructions carefully and completely before performing service. SAFETY PRECAUTIONS. To red…
Updated
by Juan Velez
This covers the following Champion Power Equipment models: 46538 (3000/35000W Remote Start Generator).
Read instructions carefully and completely before performing service.
SAFETY PRECAUTIONS
- To reduce the risk of injury, user must read and understand the operator’s manual before using this product.
- DO NOT make any adjustments to the generator without first stopping the engine and disconnecting the spark plug wire.
- Burns from hot parts — let the engine cool completely before touching hot parts.
- Injury from moving parts
- To reduce the possibility of fire or explosion, be careful when working around gasoline. Keep cigarettes, sparks and flames away from all fuel‐related parts.
TECH TIPS:
When not using the unit for more than one day, make sure to flip the ignition switch to the OFF position.
When not using the unit for more than one week, remove the negative cable from the battery.
When not using the unit for extended periods of time, the battery should be removed and stored in a cool, dry place, A 12V automatic battery charger with automatic trickle charging should be used to charge the battery. The maximum charging rate should not exceed 2 amps. Follow the instructions included with the battery charger. The battery should be fully charged at least once per month. (Note: A float charger will maintain the battery condition over long storage periods).
Follow the instructions below for diode replacement:
- Make sure the fuel valve is in the off position.
- Remove the black (-) lead from the battery with a 10mm wrench, socket, or Phillips screw driver.
- Remove the red (+) lead from the battery. Remove the battery from the unit and place it a safe distance away.
- Remove the four corner bolts from the front panel to access the charge coil diode.
- Remove the plastic control box cover located on the far left corner (two screws).
Visual
See below.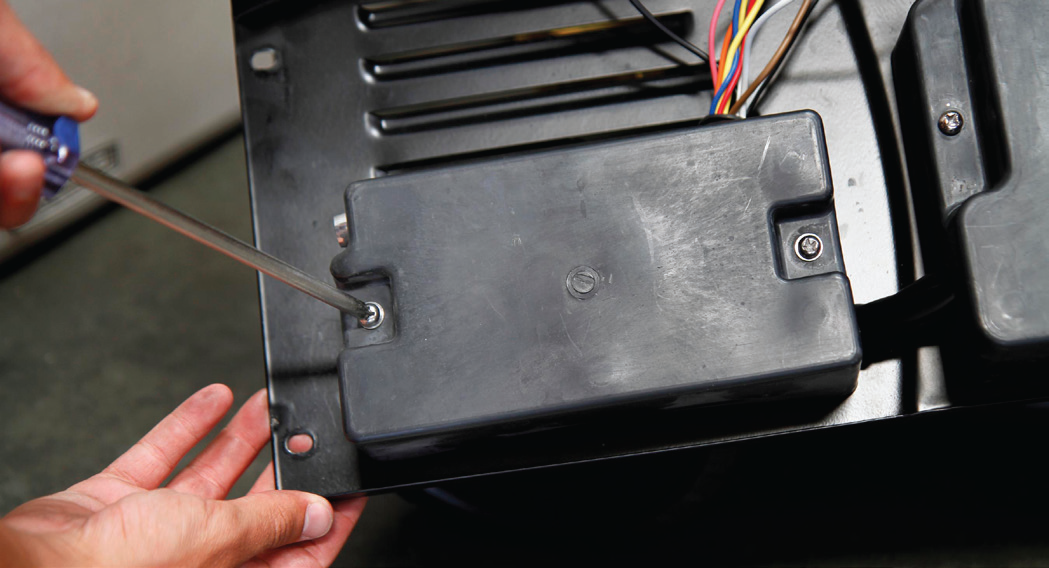
- Disconnect the charge coil diode from the wire harness connector.
Visual
See below.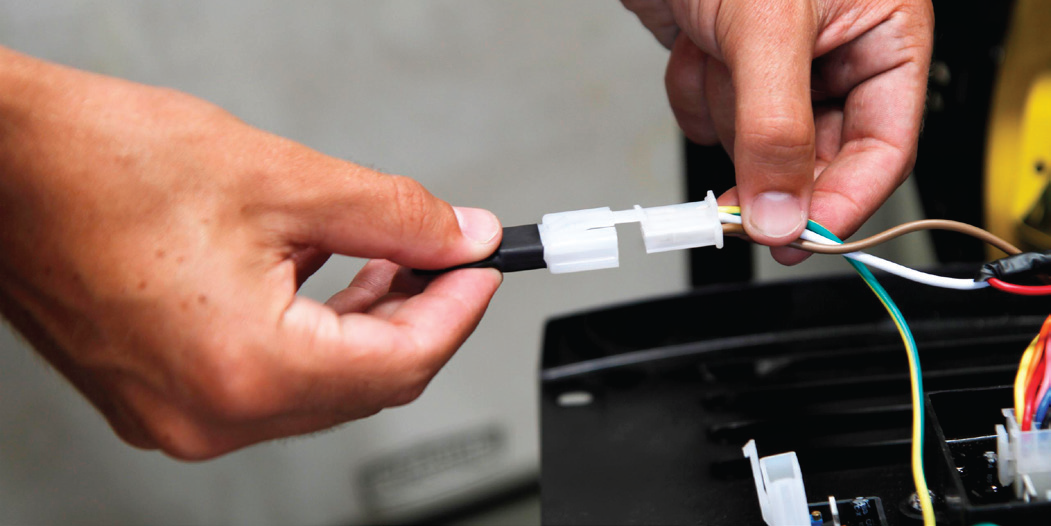
- Install the white wire harness connector to the diode box found on the far left of the control box.
Visual
See below.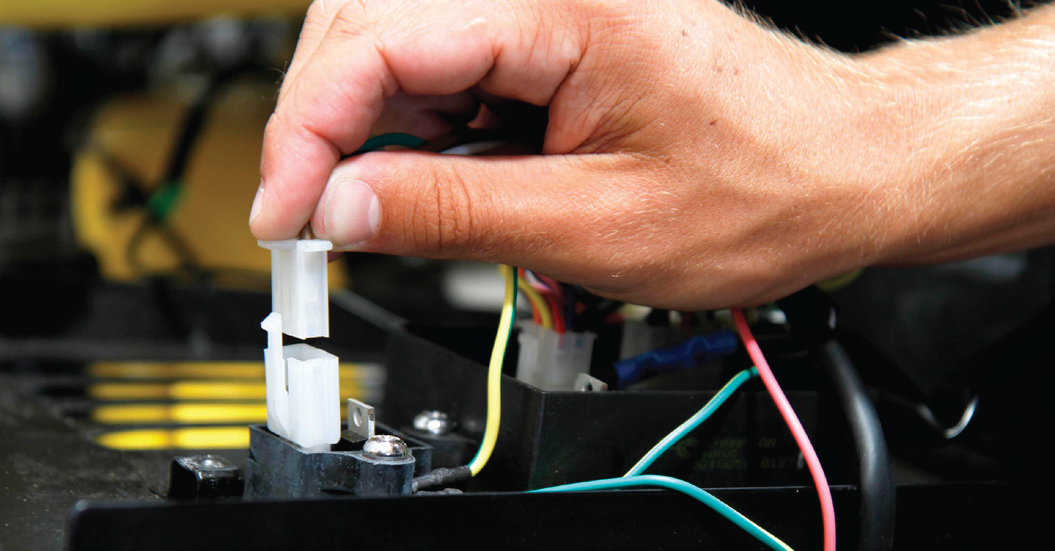
- Replace and secure the control box cover (two screws) followed by the front panel (four bolts).
- Reattach the ground cable to the ground terminal inside the front panel between the panel and from the mount.
- Place the battery into the battery box.
- Reconnect the red (+) cable to the battery followed by the black (-) cable.
- If the battery does not have enough of a charge to electrically start the unit, use the recoil starter and allow it to run for approximately two hours to recharge. Once the battery has been recharged, the unit will start with the wireless remote or by using the ignition switch located on the power panel.
View and download the PDF version here.
How did we do?
High Altitude Jet Installation
Carburetor Replacement 41332 and 41532 (Choke Dampener Spring)