Bonding Neutral to Ground (100573)
![]() Updated
by
Juan Velez
Updated
by
Juan Velez
190528-60-50-1
This bulletin covers the following models: The Champion Digital Hybrid 100573 3500-watt inverter.
Please read the instructions completely and carefully before performing service.
SAFETY PRECAUTIONS
- To reduce the risk of injury, user must read and understand the Warning and Safety sections found within the manual before using this product.
- DO NOT make any adjustments to the generator without first stopping the engine and disconnecting the spark plug wire.
- Burns from hot parts — let the engine cool completely before touching hot parts.
- To reduce the possibility of fire or explosion, be careful when working around gasoline. Keep cigarettes, sparks and flames away from all fuel‐related parts.
Tools Required
Tools/Outils | Size/Grandeur |
Phillips Screwdriver | #2 |
Wrench | 2 x 8 mm |
Wire Crimpers | |
Ring Terminals | 2 |
White Wire | 1-3 inches long |
Electric Tape or Heat Shrink |
- Turn the fuel valve off.
Visual
See below.
- Pull back on the protective boot to expose the battery bolt, and use a 10 mm wrench or socket, remove the black (-) negative cable.
- Gently pull the spark plug cap by firmly grasping the spark plug insulator at the base. Leave it disconnected while working on the unit.
Visual
See below.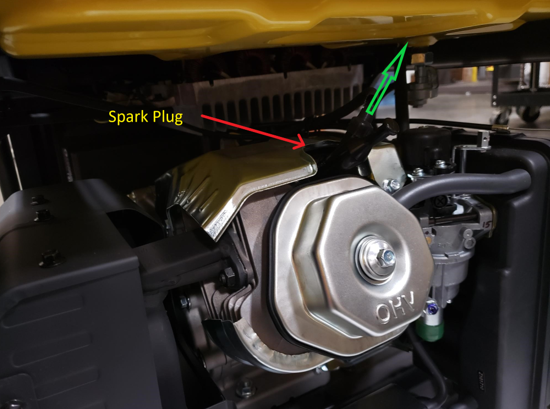
- Remove the five Phillips screws on the front panel.
Visual
See below.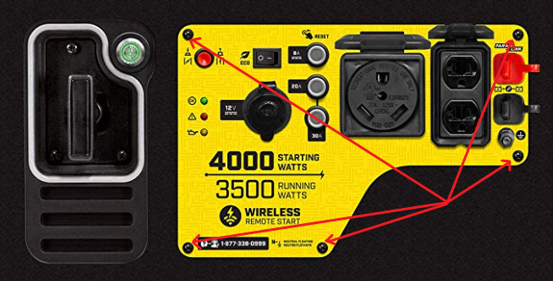
- Gently pull out the front panel to access the ground terminal. DO NOT FORCE IT.
Visual
See below.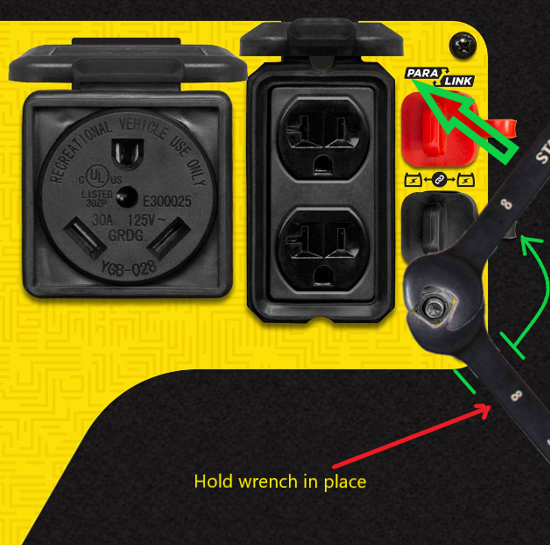
- On the front panel, loose the double 8 mm nuts by using two 8 mm wrenches as pictured. (See above.) Hold the nut closest to the panel from turning and loosen the top jam nut.
- Once removed, repeat the same procedure by using one on the back side of the panel and one on the front to remove the second. Hold the back bolt head with an 8 mm wrench in place and remove the nut on the front panel.
Visual
See below.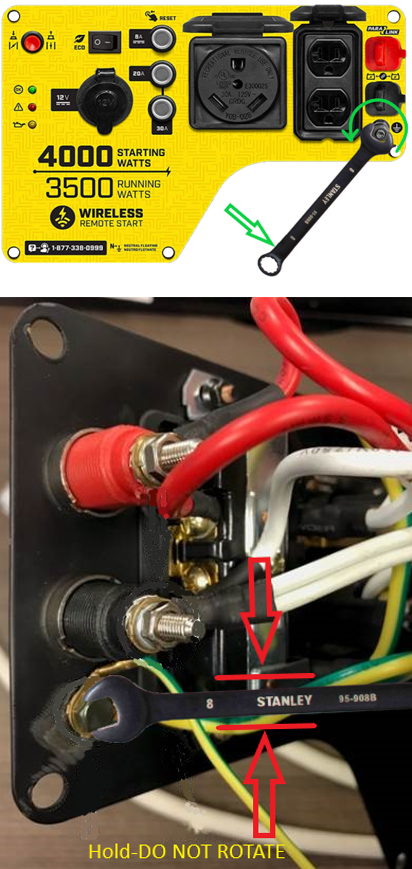
- Remove the ground terminal bolt from the front panel and add one end of the white jumper wire to the existing green/yellow wires. Reinsert it through the front panel, add the nuts, and lastly, tighten. Be careful not to rotate the wires when tightening.
Visual
See below.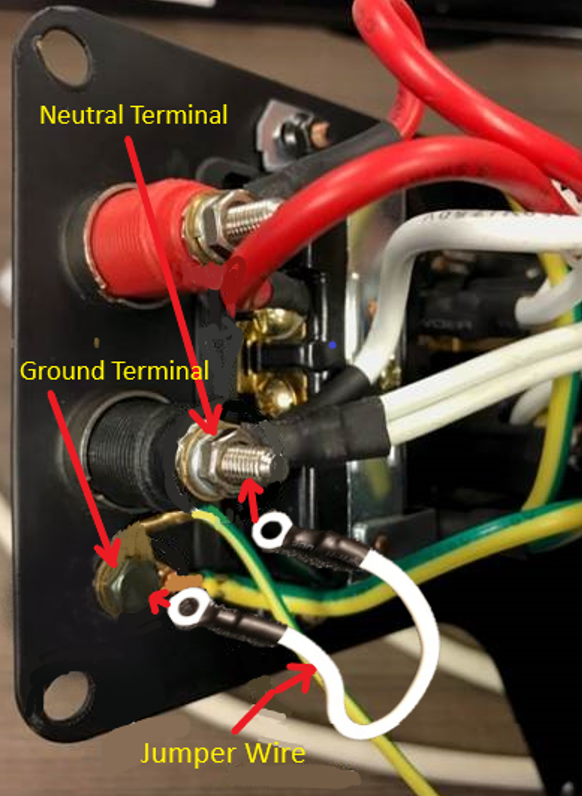
- Remove the nut on the neutral terminal and connect the other end of the white jumper wire to the existing neutral wires and tighten the nut. (See above.) Be careful not to rotate the wires when tightening.
- Reverse the steps to reassemble the front panel.
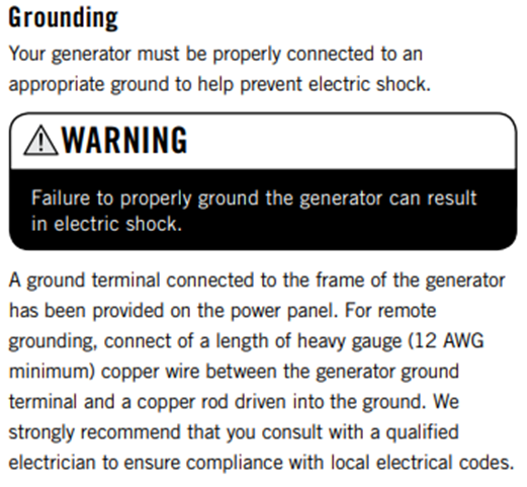
A Message about Grounding
See below.