Fuel Tank Light Indicator Battery Replacement
![]() Updated
by
Juan Velez
Updated
by
Juan Velez
181128-60-20-1
The bulletin covers the following models: 100306, 100402, 100414, 100565, and all other 2000-watt clamshell models.
Read the instructions carefully and completely before performing the service.
SAFETY PRECAUTIONS
- To reduce the risk of injury, user must read and understand the operator’s manual before using this product.
- DO NOT make any adjustments to the generator without first stopping the engine and disconnecting the spark plug wire.
- Burns from hot parts — let the engine cool completely before touching hot parts.
- Injury from moving parts
- To reduce the possibility of fire or explosion, be careful when working around gasoline. Keep cigarettes, sparks and flames away from all fuel‐related parts.
Follow the steps below to replace the battery cells (LR1130 x 2) on the Fuel Tank Light Indicator for 2000W Clamshell Inverters.
- Use a small screwdriver to disassemble the upper cover. NOTE: There is a notch on both sides to allow access with a screwdriver.
Visual
See below.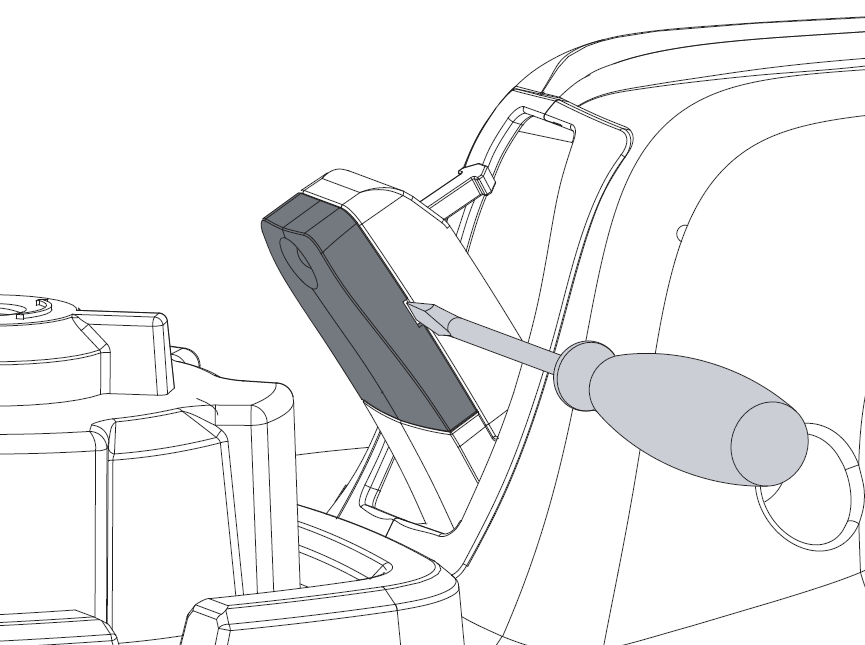
- Move the round copper cover plate and remove the battery cells.
Visual
See below.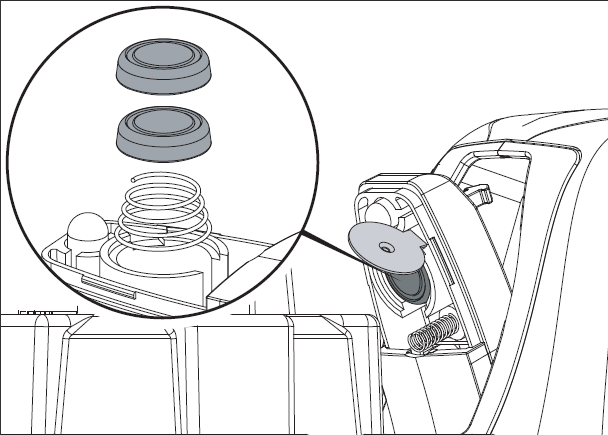
- Keep the small spring attached to the copper pillar and place the compressed spring back into the bottom of the assembly. NOTE: The compressed spring will have the small end facing outward.
- Place the new battery cells back into the assembly with the negative (-) pole facing upwards and the positive (+) facing towards the compressed spring. Move the round copper cover plate to cover and touch the button cell.
Visual
See below.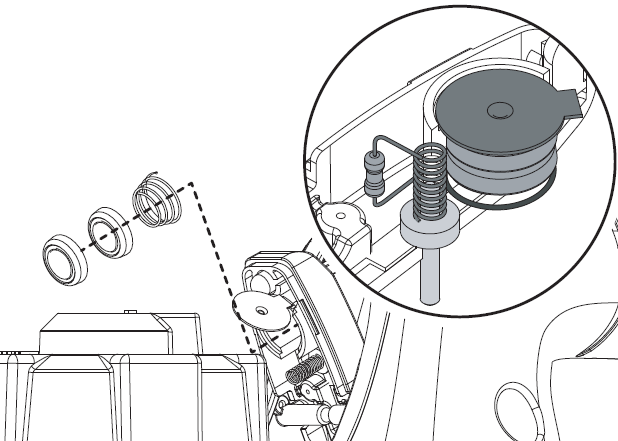
- Insert the small spring back into the pocket of the upper cover and press the upper cover into place to complete the installation.
Visual
See below.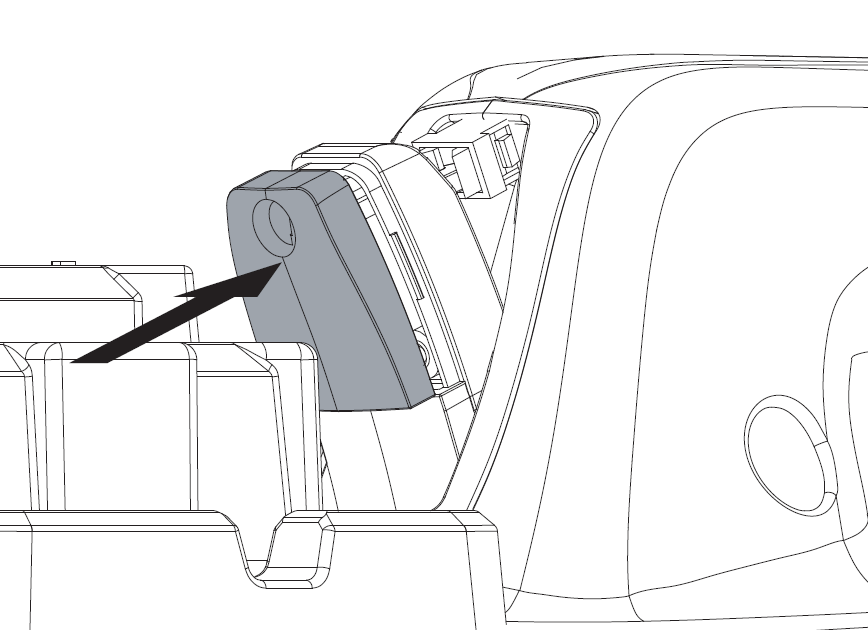
View and dowload the PDF version here.